
Finding Energy Savings Opportunities At Lowes or Home Depot - How To Blow Insulation In Your Attic12/3/2013 Do you live in an older home that needs an insulation upgrade? Having a thick insulation layer is like wrapping your house in a blanket to keep it warm in the winter and cool in the summer. There are 3 general types of insulation, cellulose which is recycled newspaper, loose fill fiberglass which looks like pink snow, and rolled fiberglass batts (think Pink Panther) which are itchy and difficult to install correctly. Read more about the problem with fiberglass batts and why how your insulation is installed is almost as important as how much you have in a previous post. So let's get to how to blow insulation in your attic. Here are all the steps.
You will need:
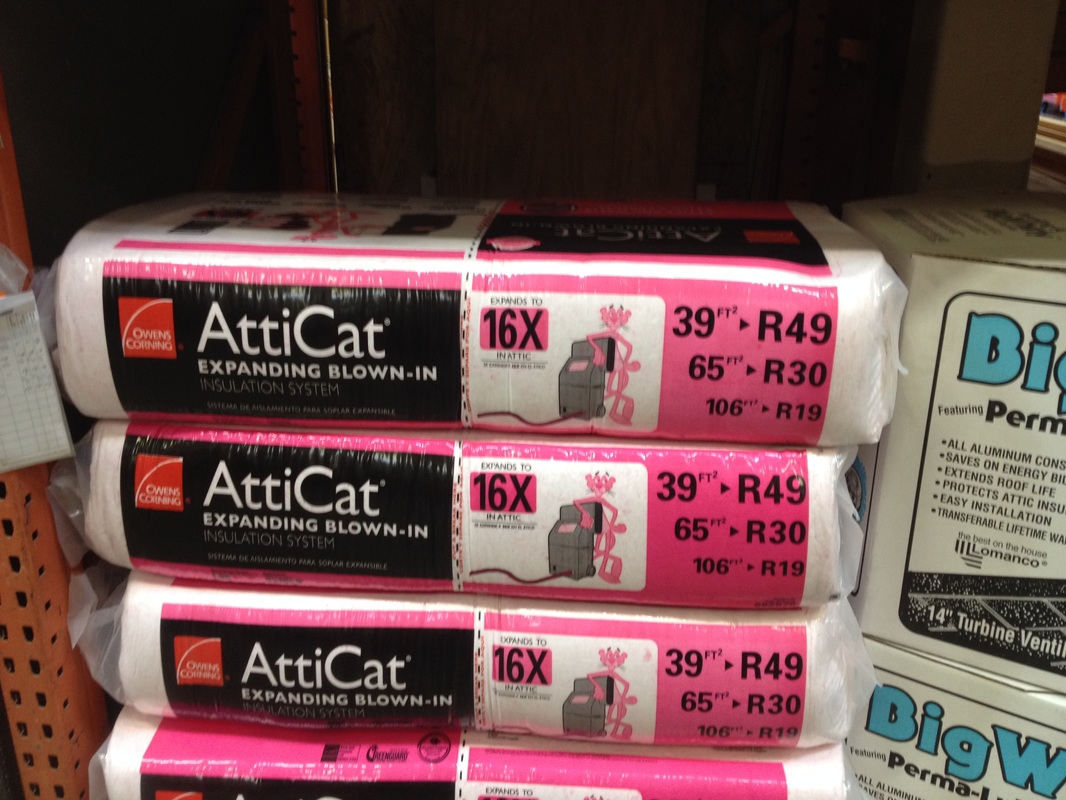
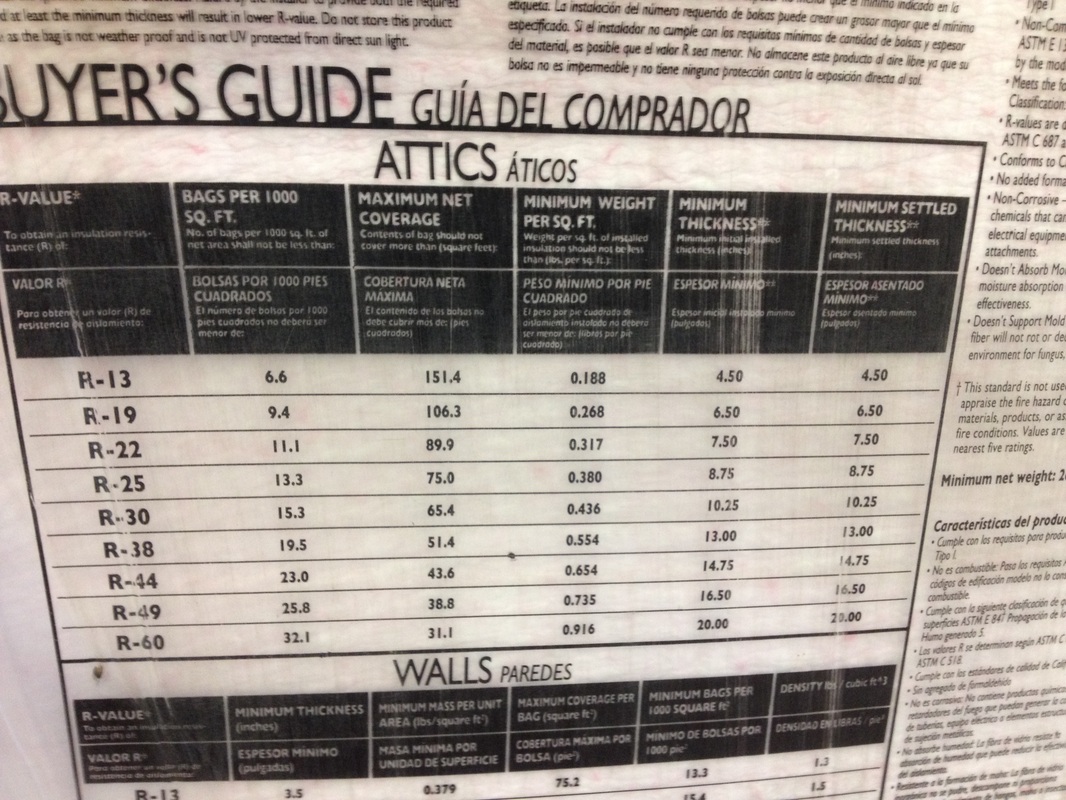
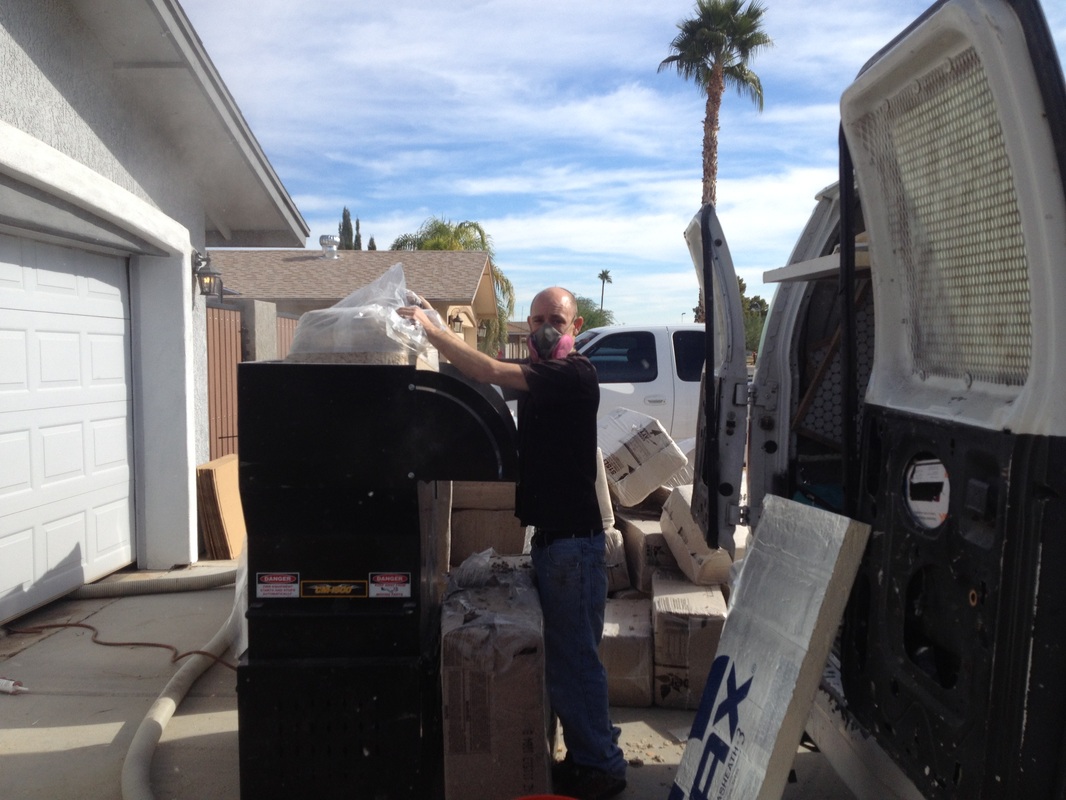
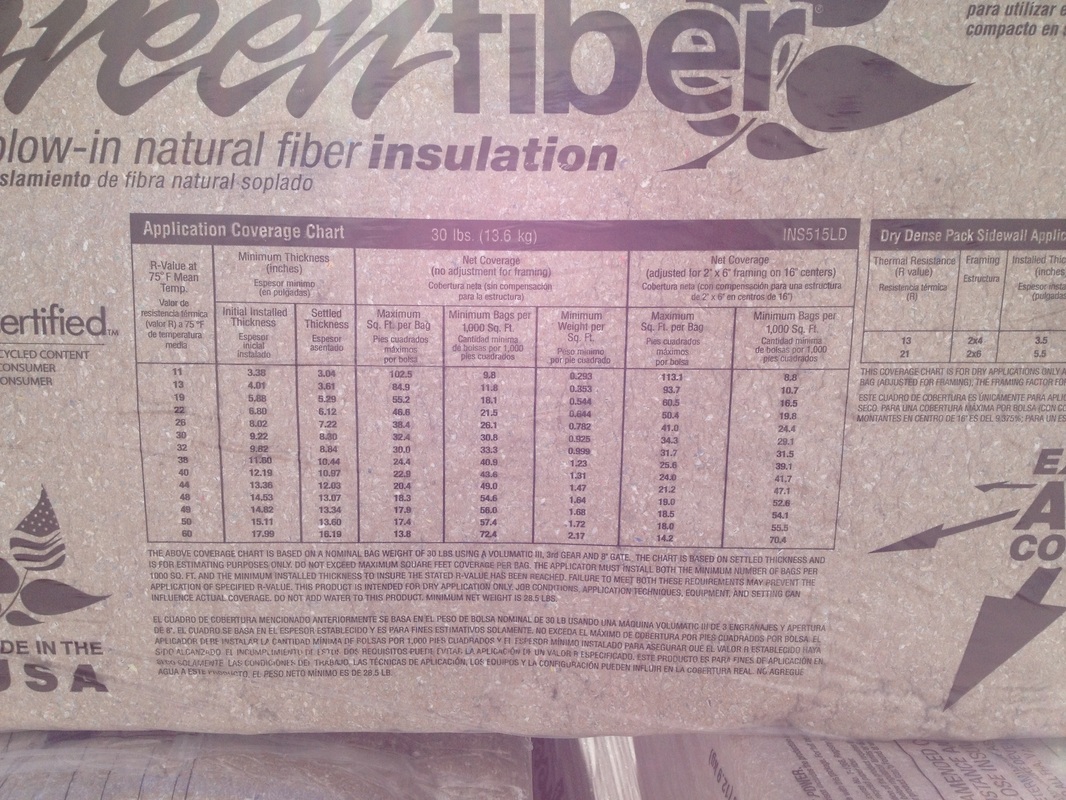
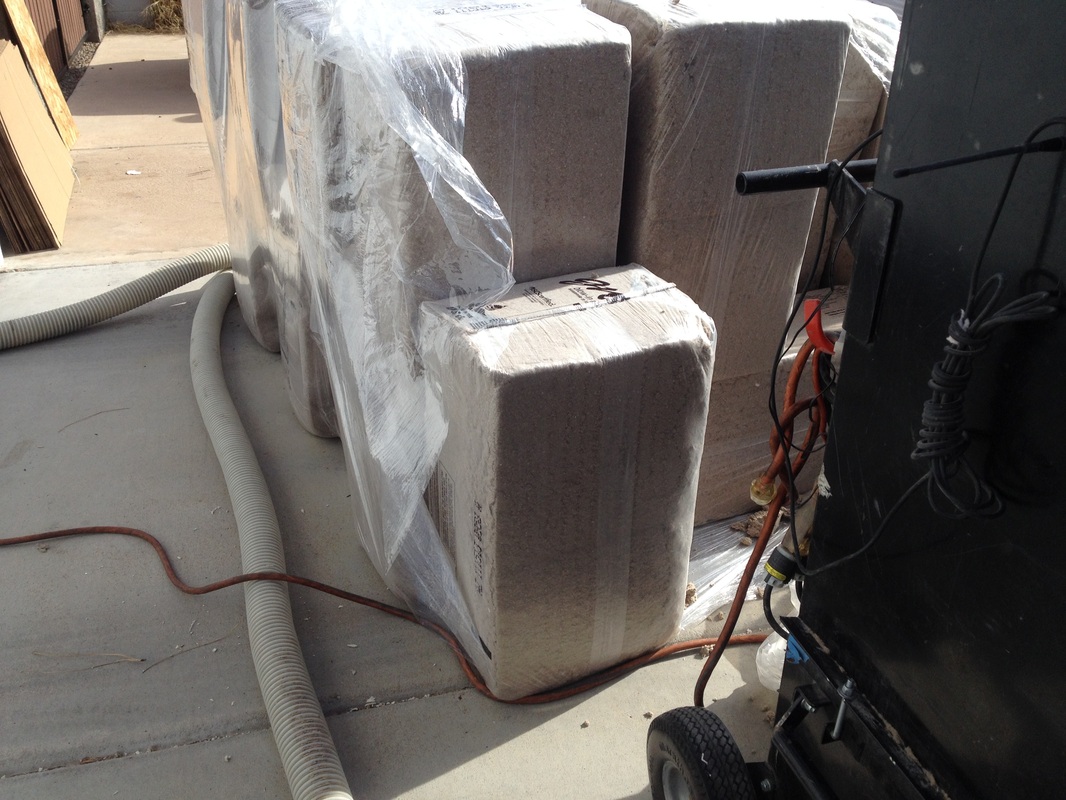
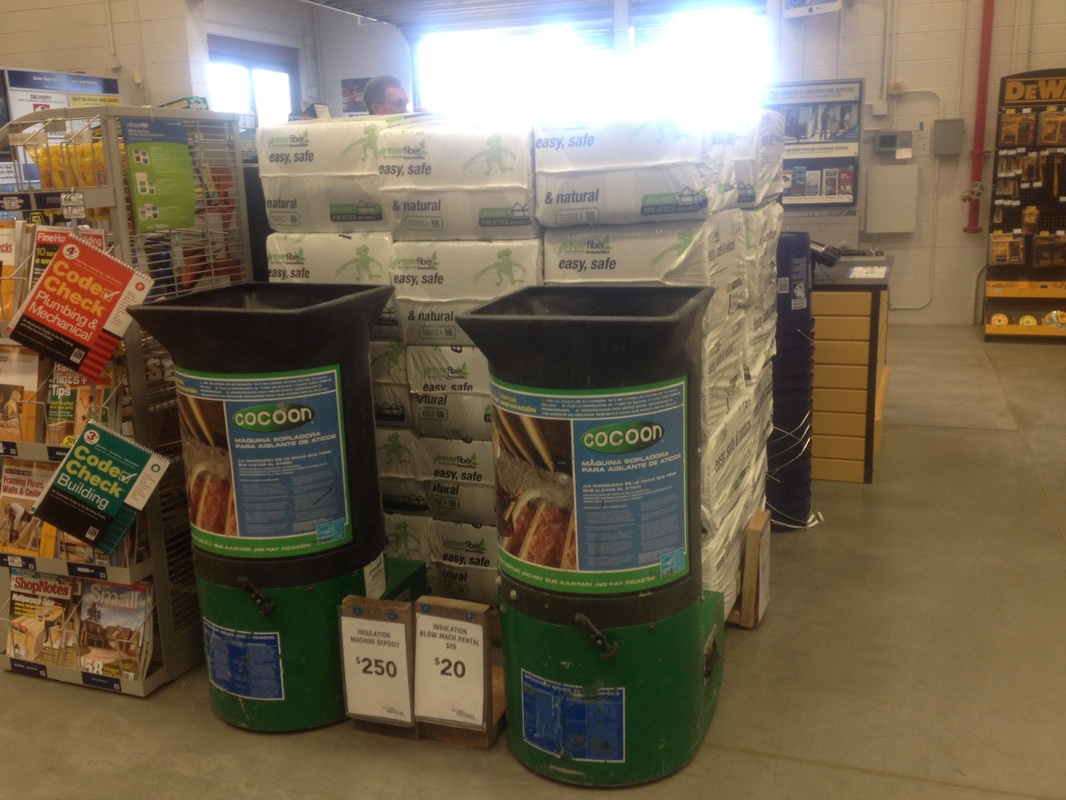
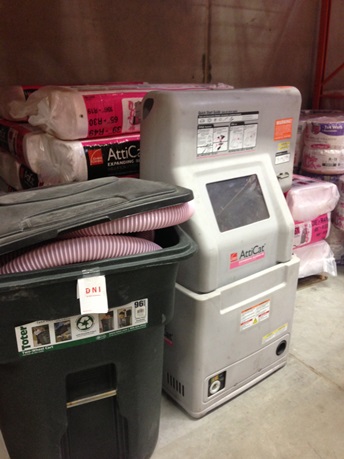
1. How many bags of insulation will I need for my attic? To calculate how many bags of insulation you should buy you need to know three things. 1. The square footage of your attic. This is usually the same as the square footage of your house. If you have a two story home, you can find the foot print if the attic on Google Maps and use their scale to get the length and width of your attic. If you have an addition with a flat roof you should not include this in your square footage calculation unless you plan on cutting an access (typically there is insulation present, but a smaller hole can tell the same thing). 2. The current depth and type of insulation you have and the depth you want to be at. If you don't know and don't want to go in your attic to measure the insulation depth, you can assume 4" which is about the point you can see the floor studs. Use Energy Star's R-value map at this link to find the zone you live in and what R-value they recommend for your zone. In Phoenix, R-38 is Energy Star standard. You can find the current R-value of your insulation from the manufacturers specifications or use BPI R-value table I simplified below. Cellulose R-3.2 per inch Loose fill fiberglass R-2.8 per inch Rolled fiberglass batts R-2.6 per inch 3. The insulation manufacturer's specification chart. You can find this information on the bags of insulation themselves. Each bag of insulation is stamped with an R-value chart that tell us what depth in inches gives us a desired R-value, how many bags per 1000 sq ft are required to reach that R-value. For your convenience, I've included some R-value charts here. Notice that the insulation bags Lowes and Home Depot sell are much smaller and have a high bag count than the bags an insulation contractor will use. So let's say you have a 2100 sq ft single level home with 4" of cellulose (R-12.8) and you want to insulation your attic up to an R-38, which is 12" of cellulose, an R-value difference of (R-38 - R-12.8 = R-25.2) 25.2. On the insulation manufacturers label on every bag you'll find that for an R-25 you'll need 28 bags per 1000 sq ft. So if you have 2100 sq ft, take 28 x 2 = 56 bags for 2000 sq ft. For the last 100 sq ft, take 1/10 x 28 bags = 3 additional bags rounded up. So you'll need 56 + 3 = 59 bags total to blow your attic up to an R-38 value. Now Home Depots bags cost $9 per bag so you'll spend about $560 on your insulation. If you choose to have a professional do it, after rebates and tab credits you'll probably be in the $900 - $1200 range and save around $100 - $150 per year on your utility bills. 2. Rent an insulation machine You can rent an insulation machine at Home Depot and Lowes. The machines can be rented for free if you spend more than $200 buying their bags of insulation which costs $30 for loose fill fiberglass or $9 for cellulose. The fiberglass machine works much faster, doesn't clog and is cleaner than cellulose. You will need to buy more material though to get you your desired R-value because of the lower R-value compared to cellulose. Blowing a 2100 sq ft home will take you about 3-5 hrs. Renting a cellulose insulation machine will operate slower than the fiberglass machine, is prone to clog which doubles your time and is very dusty in the attic and by the machine. Blowing a 2100 sq ft home will take you about 4-6 hrs. Before you leave Home Depot or Lowes, make sure they gave you the power 100' cord, not 50' of hose and hose clamps. You will need a truck or trailer to haul everything away. 3. Find a helper You will need a friend or relative to help cut the bags and load the insulation machine while you blow the insulation in the attic. This person should check with you ever couple bags (walkie talkie, phone or in person) to tell you how many bags are left and to help you pull the hose out of the attic as you work your way back. 4. Plastic off your attic hatch Use tarps and plastic to protect clothes and carpet under and around the attic hatch. 5. Learn to walk around in your attic Only step on the studs, you have to always pay attention to where you are walking because it doesn't matter if you are an attic warrior if you take your mind off where you are walking you'll be doing drywall repair soon enough. 6. Start at the back Pull the hose to the furthermost point away from the attic hatch and work your way back out. That way you aren't stepping on your newly blown insulation. You may want to carry a tape measure with you to check your depth as you go along. Otherwise walk around the attic before you blow the insulation and mark with a Sharpie the depth every couple studs. 7. Load the insulation machine When loading the insulation machine do not overload it, in fact keep it starved especially if you are using cellulose to prevent clogging. The loader should be watching the insulation go through the hose as shown in the video below. If he cannot see the insulation moving through the hose, it may be clogged. The Home Depot and Lowes machines are the lowest-end machine anyone can buy and they have been beat up over time, so do not expect optimal production and be careful not to clog the machine from overloading it. Chunk some insulation off and watch the machine eat it, then chunk some more off. The loader should be working continuously with a couple second break while the machine is eating up the insulation. 8. Communicate your status While blowing the insulation it is a good idea to have walkie-talkies to readily communicate with your helper. You may need them to pull the hose out as you work your way out, or stop the machine if you need to re-position yourself, or count down the number of bags remaining to evenly space the levels out. 9. Clean up
Home Depot and Lowes want the machines returned empty, so make sure you use up any insulation left in the hopper. When carrying the hose in and out, it's best to use two people to prevent it from dragging across the home. You can return any bags not used if they are not used or if you bought way too many.
0 Comments
Your comment will be posted after it is approved.
Leave a Reply. |
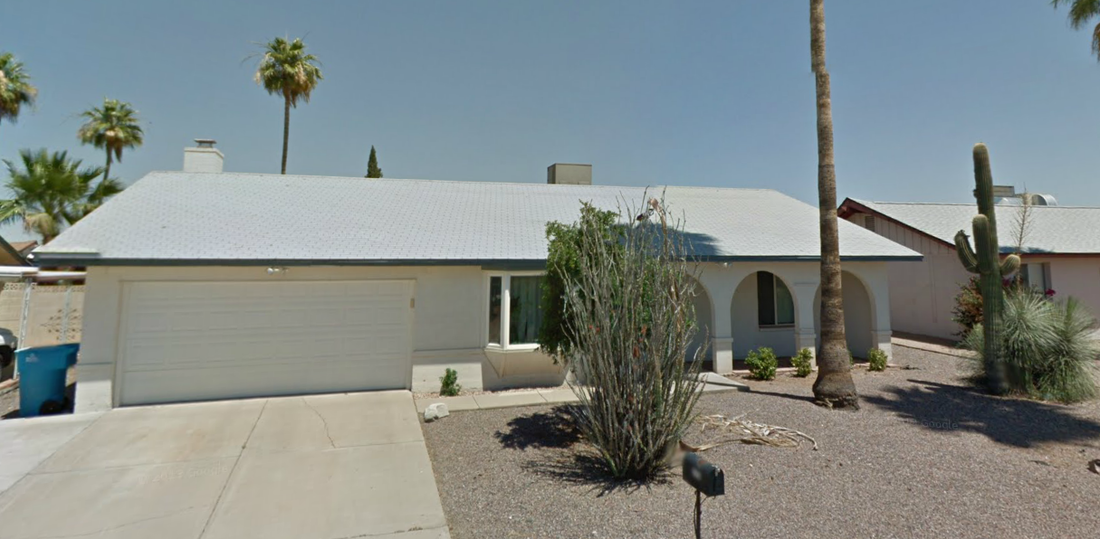
Sign Up For Your Home Energy AuditFIND YOUR HOME TYPERanch Homes
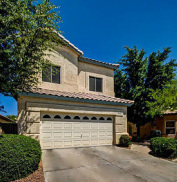
Single Story, Spec Homes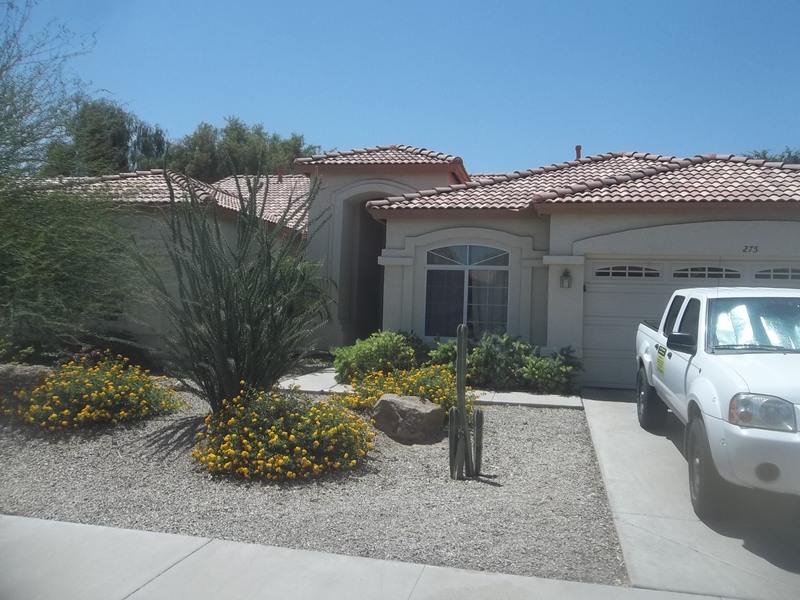
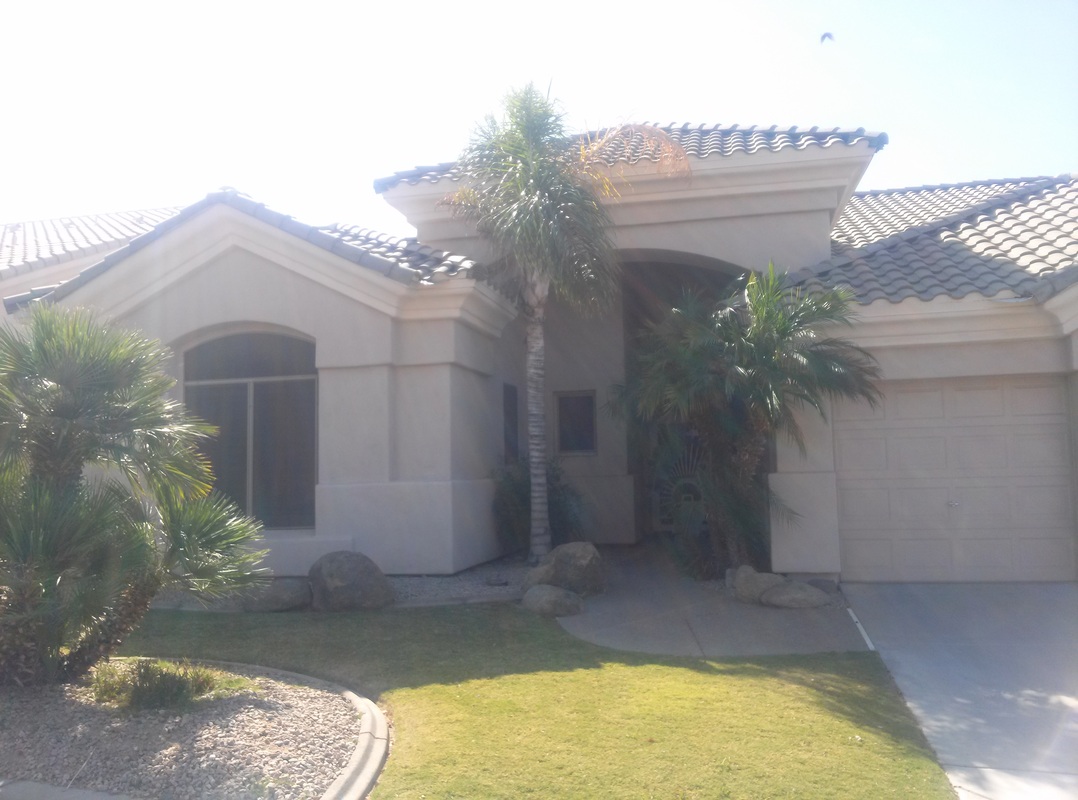
Two Story, Spec Homes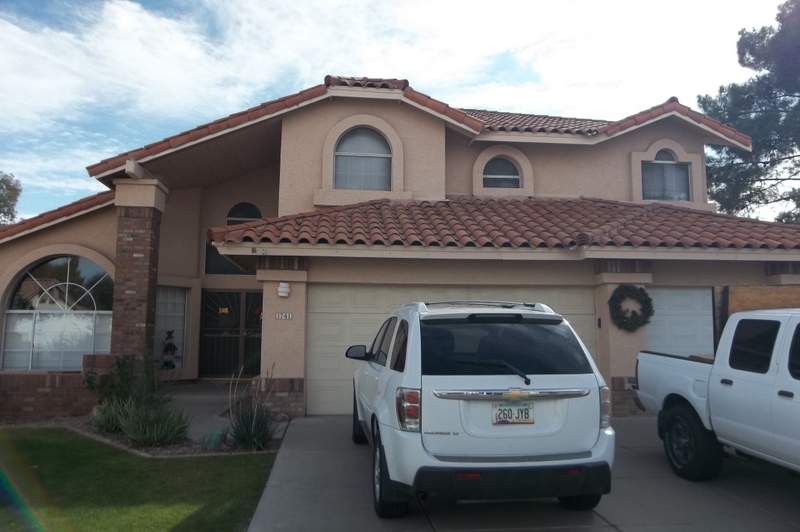
Tri-Level Homes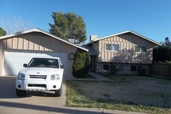
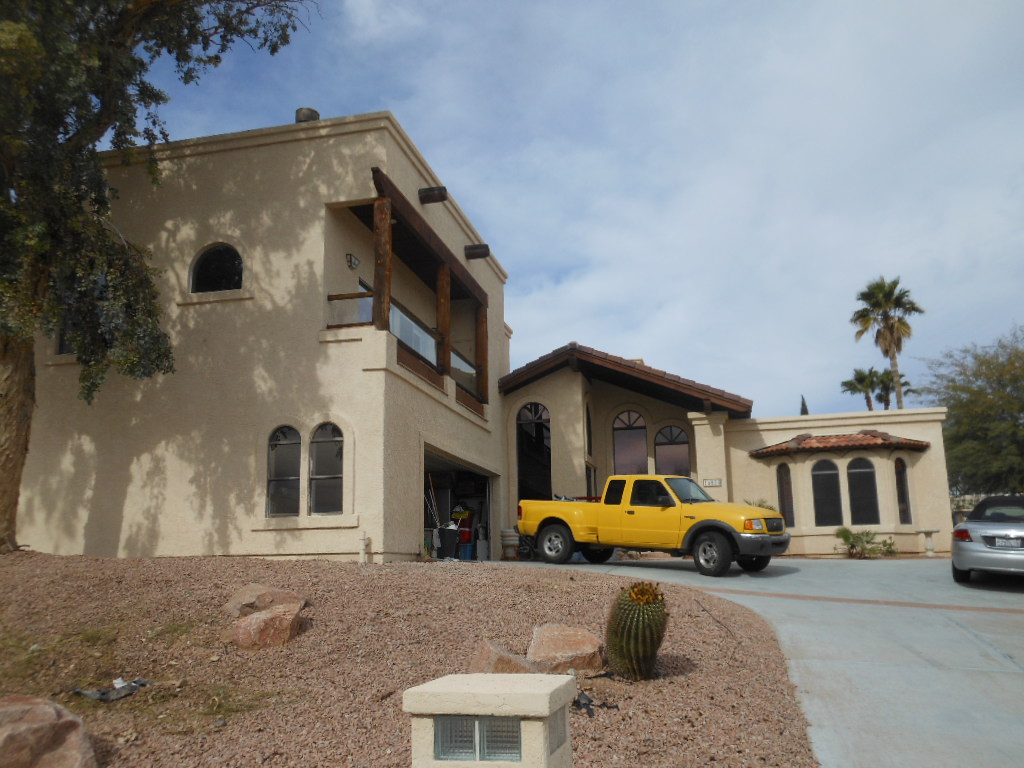
Pre-1990 Custom Home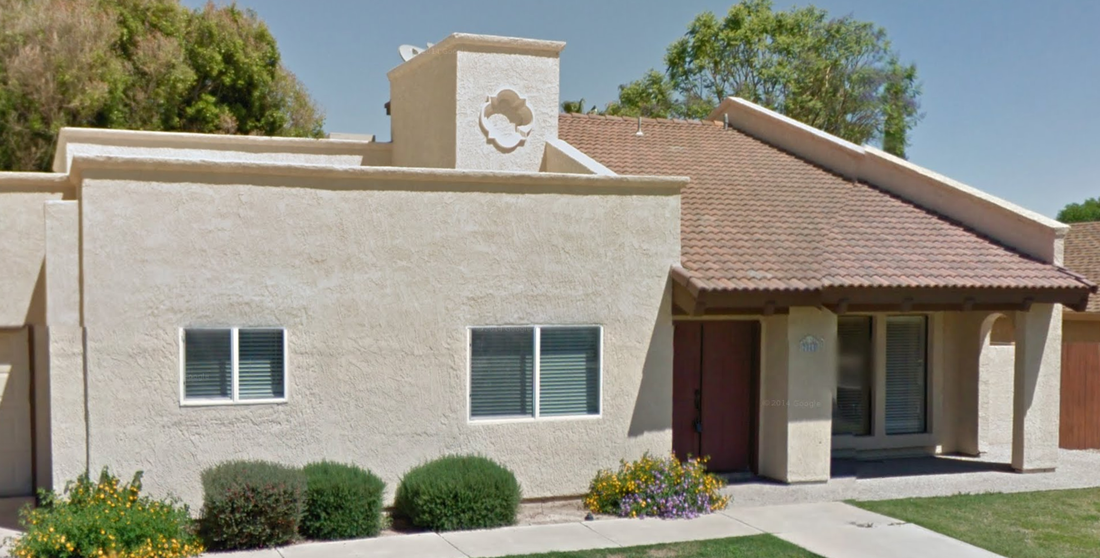
Post-1990 Custom Home
Don't See Your Home? Find Your City Below!Archives
April 2024
Copyright Notice©2009 – 2023
All Rights Reserved |