
|
It happened again, the Salt River Project, better known as SRP, has increased their rates. SRP customers saw an increase in their November 2023 bills of around 8 percent. Although SRP customers are upset with the increase, SRP General Manager and CEO Mike Hummel states that "SRP remains committed to keeping rates low as we work to meet the growing energy needs of the Greater Phoenix area” (SRP). The board of directors met in March of 2023 to go over these rates. This was an increase to an already approved rate hike. The SRP board then approved an increase in the fuel and purchased power adjustment mechanism, FPPAM. SRP explains how “FPPAM is the rate that SRP charges to recover the costs of fuel, including natural gas, and purchased power agreements used to maintain energy reliability” (SRP). According to SRP, these costs are passed through to customers without any markup. As SRP bills increase, so do residents' attention towards their energy usage. Here are a few ways that you can help lower your electricity bill.  Switch PlansSwitching plans with SRP can save you money. Currently, there are seven different plans that SRP customers can choose from.
Maintain Your Air ConditionerAlthough many people scoff at the simplicity, keeping your air conditioning filters clean is a must. A clogged filter can cause your air conditioner to run a lot harder, wearing it down over time and costing you more. Arizona's famous haboobs can do a number on your air conditioning filters, and will require you to change them more often. Regular maintenance is also important, as nobody wants to be woken up to a broken air conditioner. Here at Green ID, we complete a 22 point inspection to ensure that your air conditioner is running efficiently. With our maintenance special, you’ll receive 2 tune-ups per year, plus 20% off repairs and 10% off new units. Replace Inefficient AppliancesReplacing inefficient appliances can help lower your electricity bill in the long run. We have made great strides in making energy efficient appliances affordable. For example, washers and dryers account for a lot of a home's energy usage- replacing them with Energy Star appliances can help cut down on those costs. In the heat of Arizona, drying your clothes outside may be a good option, too. LightingLighting can make a huge difference when it comes to energy usage. We use our lights more than we realize, so switching to LED or other efficient bulbs can be a cost effective way to lower our electricity bills. Energy AuditsAn energy audit can help you find places in your home that are not energy efficient. Your home could have unsealed ducts, internal moisture, air leakage, draft leakage, and other issues that are costing you money each month. During an energy audit, one of our seasoned auditors will go through your home with infrared cameras and complete pressure tests, insulation evaluations, pool pump evaluations, and more. One energy audit checks all of the main efficiency issues. Afterwards, we will go over what you can do to increase your home's efficiency. Green ID ArizonaA small business here in sunny Phoenix, Arizona, we have been serving the Valley for over 10 years. We ensure that our customers' homes are as efficient as possible, and aim to save them as much as possible on their monthly bills.
Don’t wait for another rate hike. Make sure your home is as efficient as possible today.
0 Comments
APS, or Arizona Public Service, is the largest energy provider in Arizona, serving 11 out of 15 counties in the state. If you have APS, you definitely know it! There are three plans currently available for all APS users, including two time of use plans and one fixed rate plan. Depending on your household usage, simply switching to a different plan could save you money on your energy bill.  Arizona Air Conditioning! Fixed Energy PlanThis plan is just that, fixed. The time and day that you are using the energy does not matter, and you get the same rate year round. The rate that you pay is determined by the usage tier that is assigned to you, based on your average energy usage. The more energy that you use per month, the more you will pay per kWh. These are the three tiers, which you can see here on APS’s website. Tier 1: 600 kWh or less average monthly energy use – 11.298¢/kWh Tier 2: 601-999 kWh average monthly energy use – 12.282¢/kWh Tier 3: 1,000 kWh or more average monthly energy use – 13.478¢/kWh This works best if you do not use that much energy, or have a smaller home. Overall, the time of use plans would likely save you more money, but restrict your energy usage more. Time-of-Use |
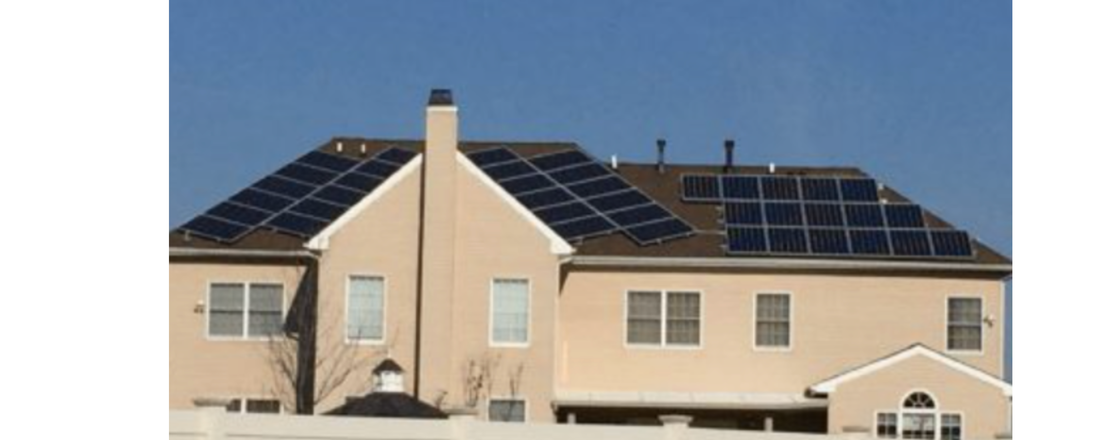
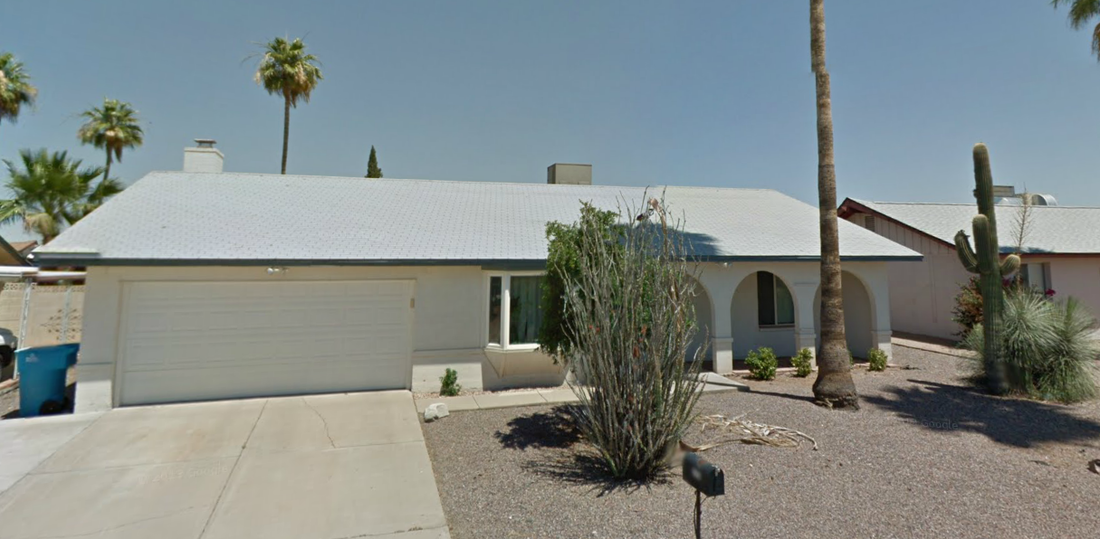
Sign Up For Your Home Energy AuditFIND YOUR HOME TYPERanch Homes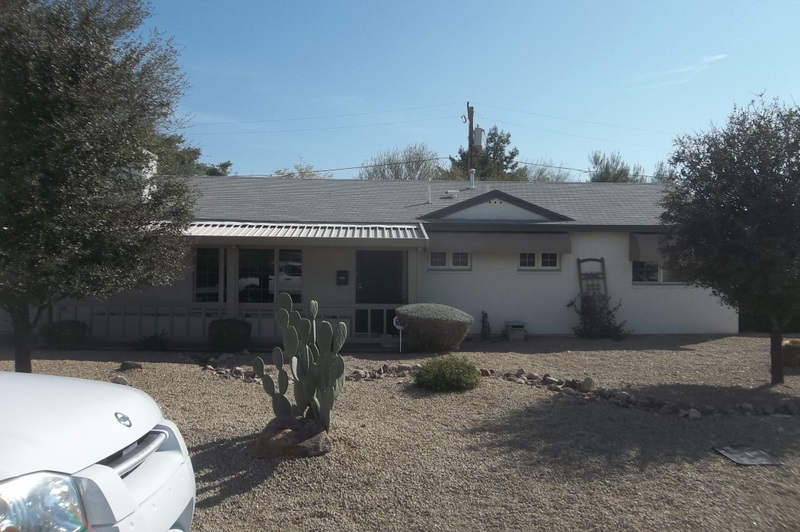
Single Story, Spec Homes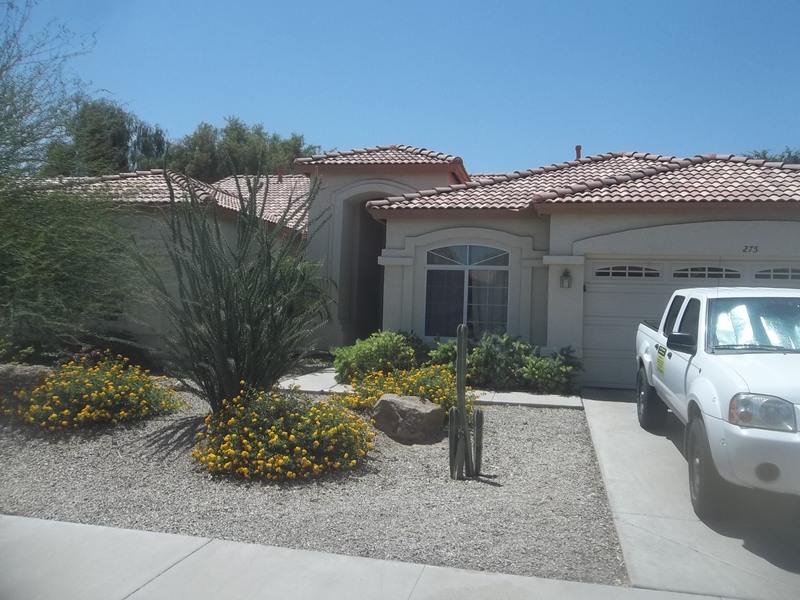
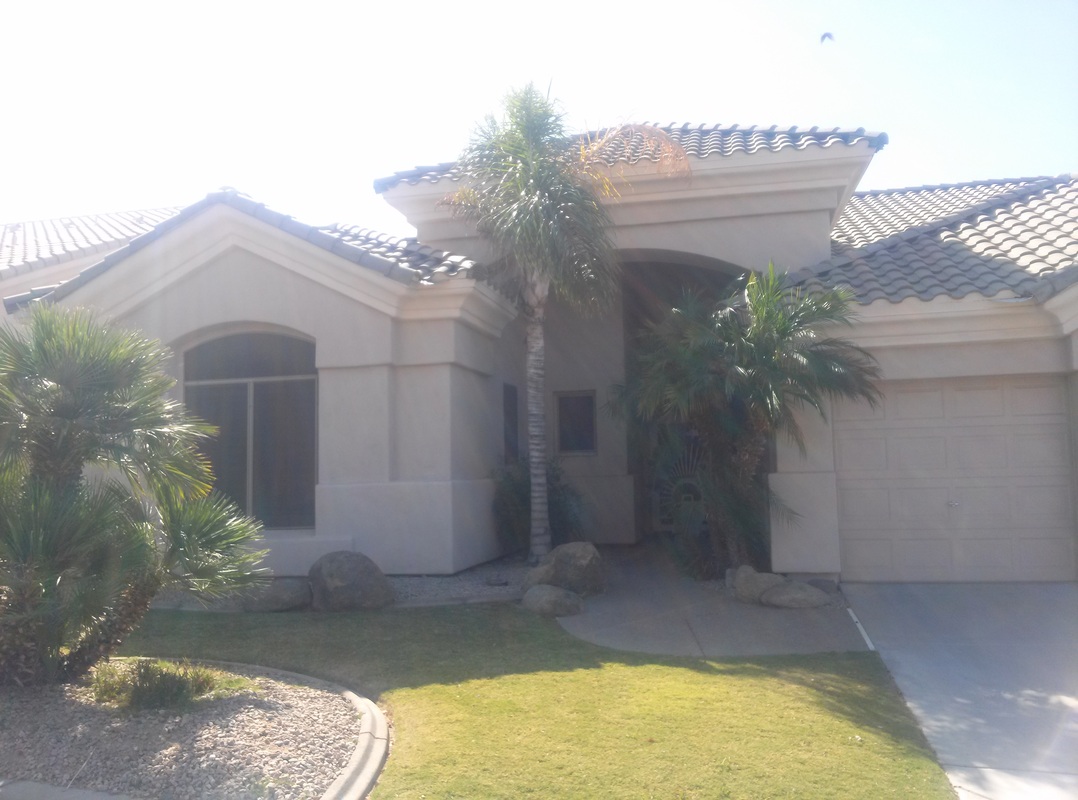
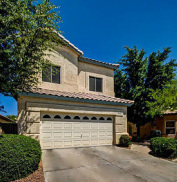
Two Story, Spec Homes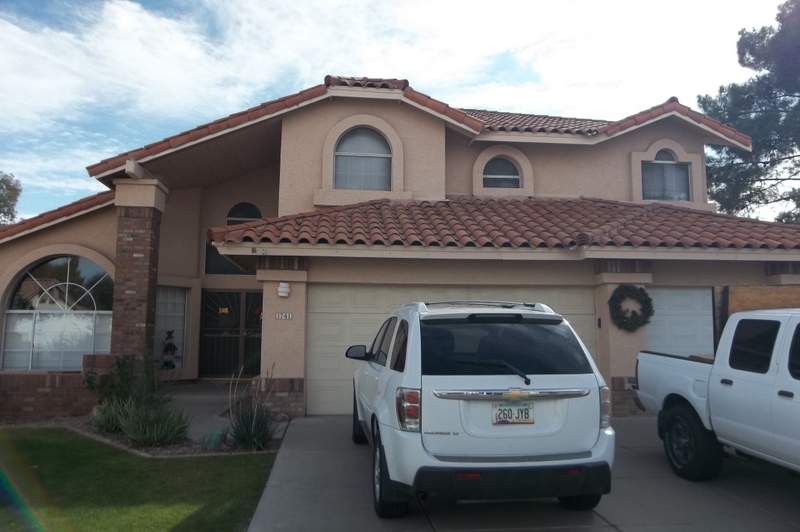
Tri-Level Homes
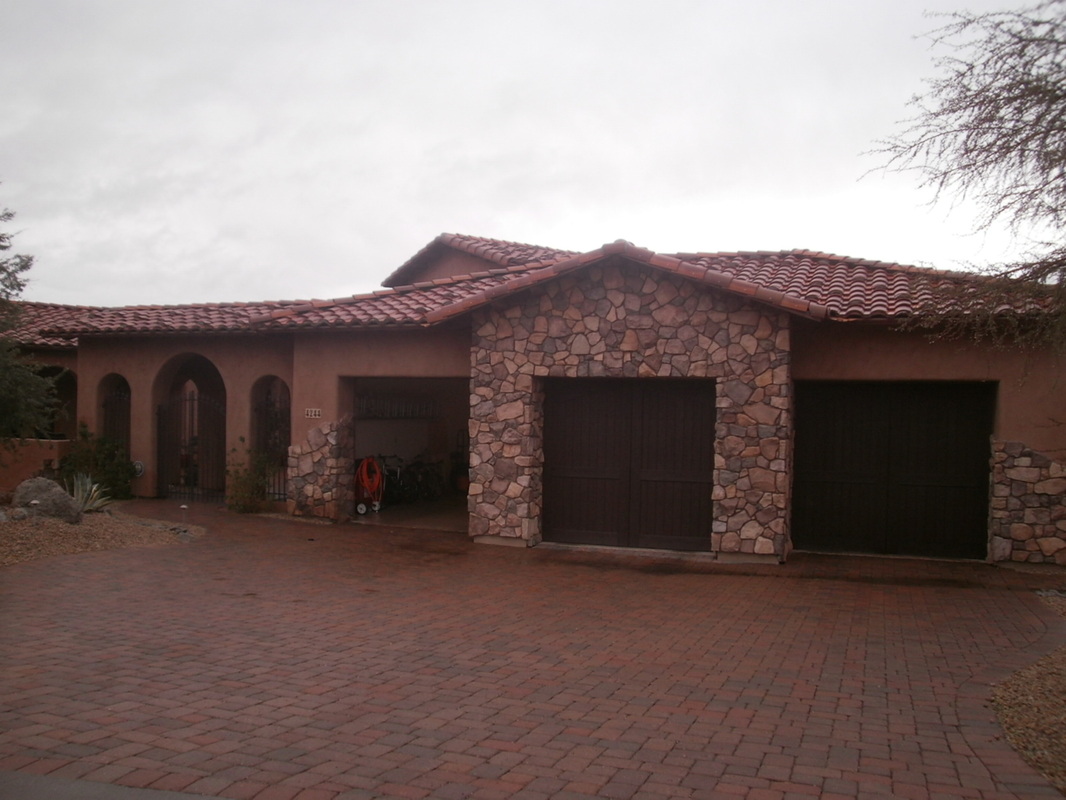
Pre-1990 Custom Home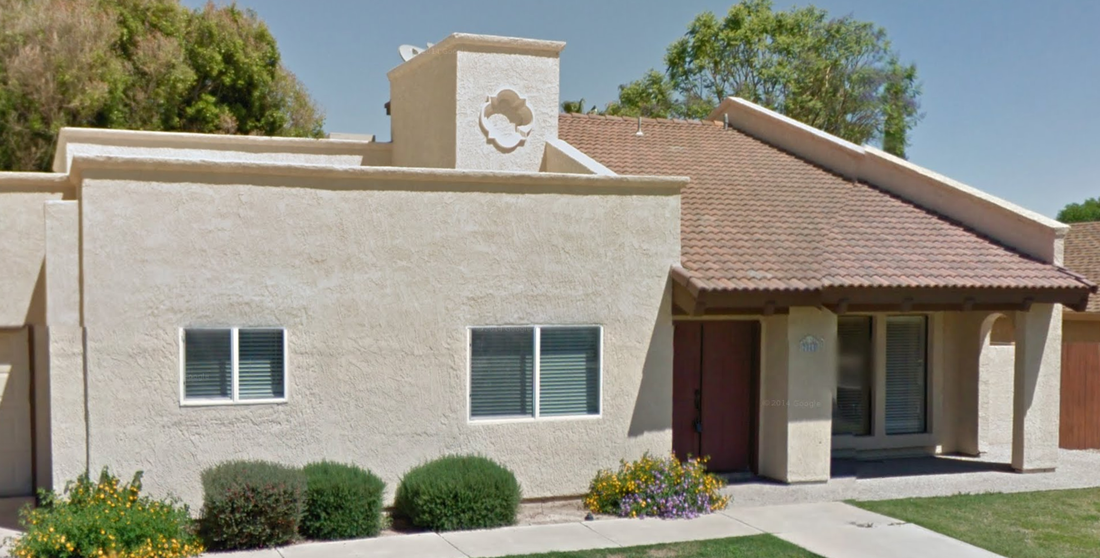
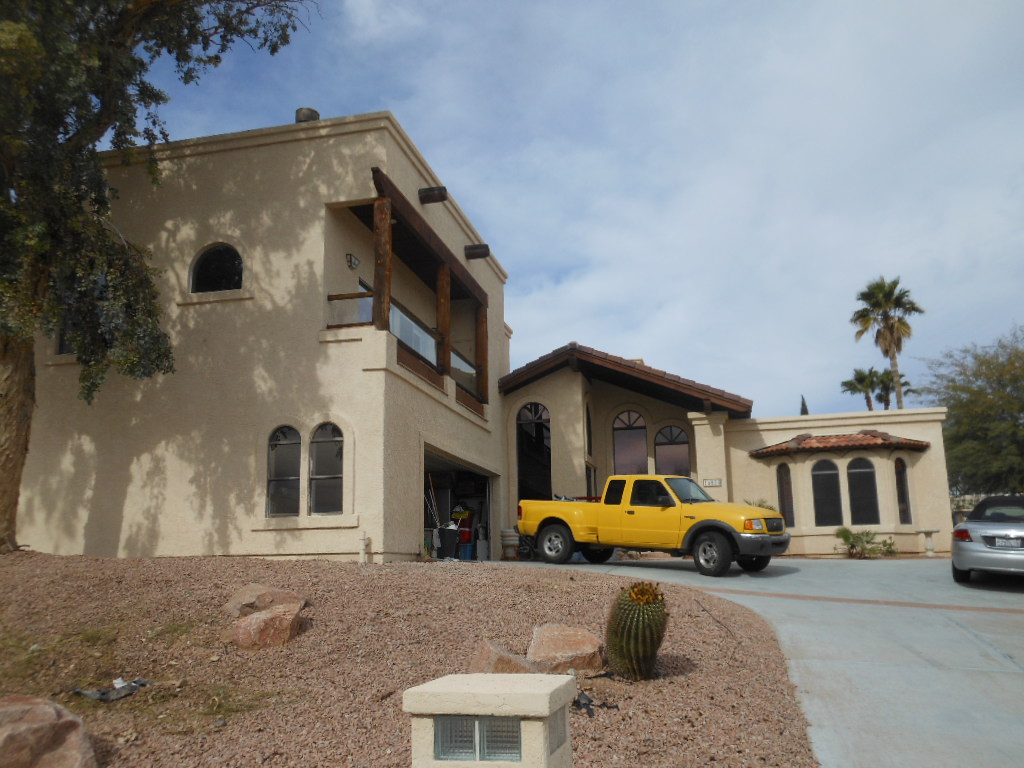
Post-1990 Custom Home
Don't See Your Home? Find Your City Below!Archives
April 2024
Copyright Notice©2009 – 2023
All Rights Reserved |